In looking for cabinets, Jeff and I couldn't really agree on anything. I wanted pretty he wanted cabinets built like a tank. We priced out a few different options. Most of the cabinets we looked into were pricey, and didn't seem to be of the highest quality to fit Jeff's standards. We even looked into some sustainable cabinet options (low-VOC, made from recycled wood-fibers), but nothing really seemed to fit. We took our lunch breaks to visit various cabinet stores in the Merchandise Mart, and even got shunned from one that said our budget wasn't big enough. As we searched and searched for a perfect match, we picked up numerous books and magazines about kitchen renovation. I picked up a Chicago Home and Garden Magazine that had an ad in the front for Orchard Hill Cabinets by Builder's Cabinet Supply. I knew it would probably be out of our price-range, but the showroom was close, so we decided to go... Best decision ever!
We walked into the showroom, and the nicest sales guy started talking to us. We loved a couple different styles, and they showed us finishes that were beautiful. We soon learned that all the boxes were built in Chicago in the warehouse upstairs, and we could do all those "extra" things that Jeff wanted. We gave him the dimensions for our kitchen, and sat and waited in horror of what the price was going to be. To our surprise the quote came back as about half the price of any of the other options we had looked into. And, they were nicer cabinets. I guess that's the benefit of working directly with the cabinet company. There is no mark-up, so you get more for your money... DEAL!
We went back and forth with the samples of wood stain for awhile. But finally, we decided to go with dark cabinets as a contrast to the light wood floors. We received the cabinets, and they were beautiful.
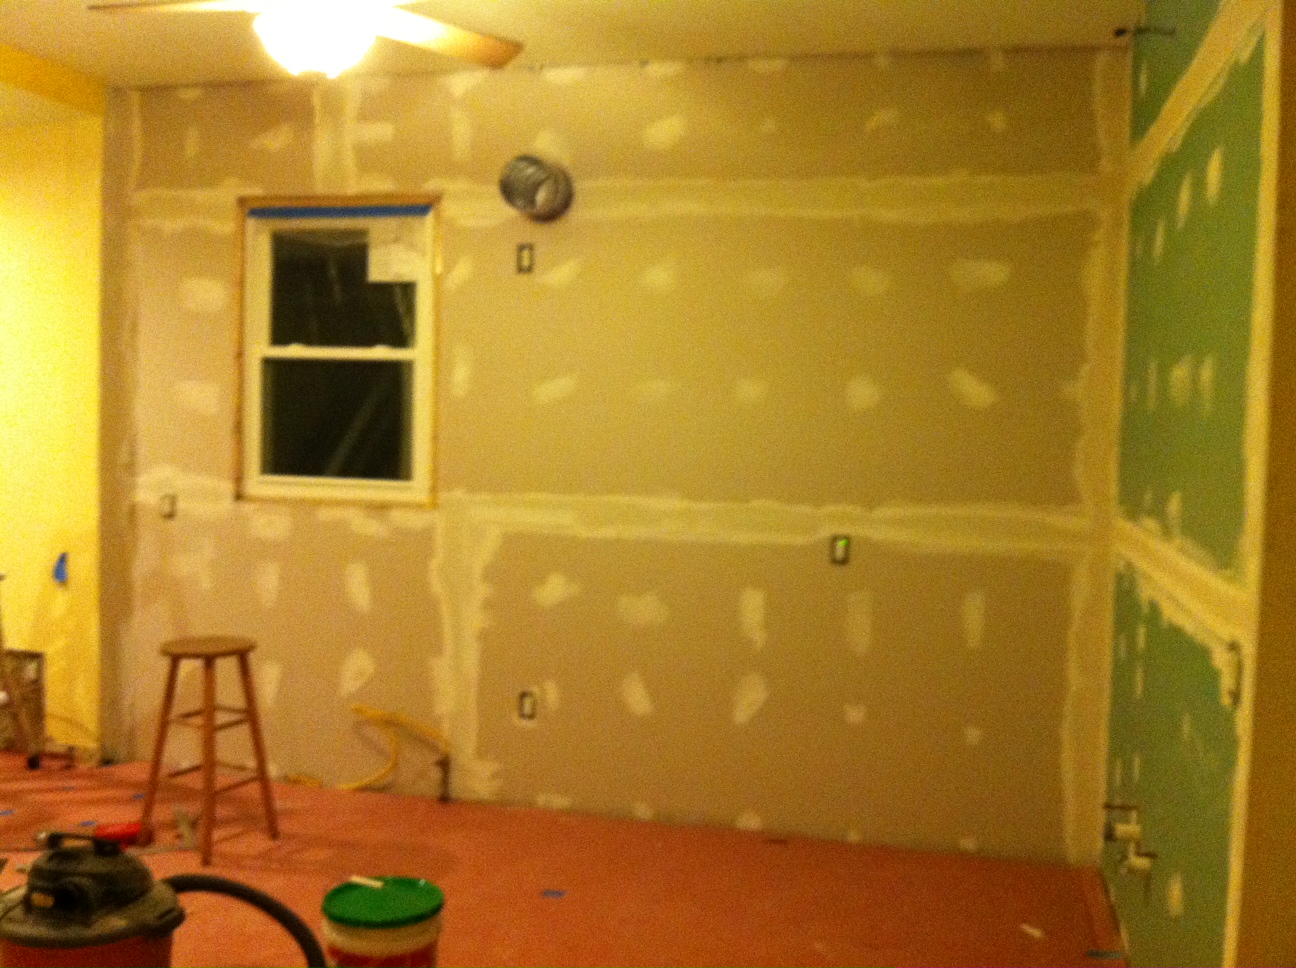
After the cabinets sat in our dinning room for about a month, we finally had everything ready to get the cabinets installed. I was so excited, and definitely did not sit this one out!
 |
| And it begins! |
Surprisingly enough, hanging the cabinets was not that bad. There's a lot of measuring, and there might have been one instance where we had to redo a cabinet 3 times, but hey, all in a day's work, right? Things seemed to be moving right along.
 |
| Look how fast I move. The camera can't even keep up! |
Once we were on a roll with the top cabinets, there was no stopping us. Then, it was time for the base cabinets. In doing our best with the old floor, we knew there would be quite a bit of shimming going on for these bad boys. It was pretty difficult trying to get them level.
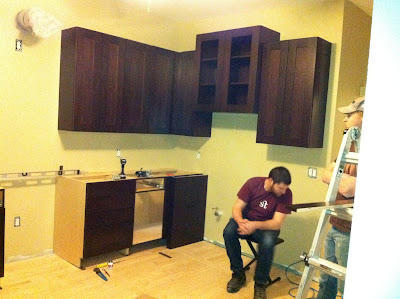 |
| Kevin taking a much deserved breather. |
The other obstacle of the cabinets, was trying to find studs in the wall. We made graphs before we put the drywall on, and when that seemed to be failing, we even reverted back to looking at previous pictures I had taken of our progress. This system helped, but our poor walls were looking more and more like Swiss cheese.
 |
| Picture podium reference. |
While I have never claimed to be great at math, I was working with two web engineers, so I thought between all of us, we could figure this stuff out. Eventually they got it, while I did what I do best... sat on the floor.
However, we did send Kevin home for the day and Jeff and I installed an amazing Rev-a-Shelf in our blind corner cabinet. We loved this accessory as soon as we saw it at the cabinet shop, but the price tag and installation price was WAY out of our budget. So, Jeff ordered one online, and we installed it ourselves. Installation was not hard at all, and it so cute and handy. We didn't love the lazy Susan (mainly because my name is Susan, and it's just plain rude to call me lazy), so this was a much better fit for us!
 |
| Rev-a-Shelf parts. |
 |
| Sliding mechanism installation. |
 |
| Installed! The other wire baskets slide out too. It provides an amazing amount of storage, in such a cool solution! |
One of my other best qualities is thinking about the "what if?" factor right when they boys are finished doing something, or they have something extremely heavy in their hands. Most of these moments came when trying to position and install the island. I did tons of research about how much room was needed between island, sink, cabinets, appliances, etc. But everything seemed either too far or too close. It was a bit of a three bears scenario with nothing feeling "just right."
 |
| Island in progress. |
Eventually we got everything perfect, with lots of tweaking, but it really did pay off. The space is amazingly organized, and Jeff and I can be in the kitchen working, without being in each others way.
 |
| Jeff being a perfectionist. |
 |
| Island cabinets installed with bead-board side panels! |
We are so happy with our choice of cabinets, and the decision to install them ourselves. We were a little nervous, and had watched way too many Renovation Realities to be confident in what we were doing, but it just takes a lot of patience, a lot of math, and a great friend like Kevin to get us through. I wish everyone had a Kevin and a Jeff. They're pretty incredible. I will rent them to you for a small fee... Or pie!